13 Jan How to Use Telemetry for Your Free Flighted Bird
If flying birds has piqued your interest, you might have a question or two about the various types of telemetry devices on the market and how they integrate with your training program. A quality flighted relationship with your bird relies on your understanding of how telemetry works: how to maximize its benefits and recognize its limitations. In acknowledging these boundaries, you will be able to enhance your bird’s creativity and self-expression in the air, which will leave any observer awestruck.
Types of telemetry
Telemetry comes in a few different types and mounts that speak to your comfort levels and needs, as well as your bird’s preferences. First, there is the difference between radio (the OG) and GPS tracking technology.
With radio, you have options for the frequency bands you want to purchase and the differences between them. There are VHF (Very High Frequency) and UHF (Ultra High Frequency) frequency bands. Most falconers go with VHF, though not all. The pros are that it has a longer range in open terrain, better penetration through vegetation and rolling terrain, its signals bend slightly over hills (diffraction), it’s more compatible with directional Yagi antennas, and it’s easier to home in precisely once you’re close. It is not without its drawbacks, however. The antennas are larger and slightly heavier, as are the receivers, and they can be more susceptible to atmospheric noise.
UHF have smaller antennas, are good for short-range precision work, and has less atmospheric noise. UHF is often used in two-way radios, for instance, as it is better in cluttered, built, or indoor environments. This does not make it the band of choice for falconry.
Even transmitter comes with a preset frequency channel. If you are flying multiple birds at once, like we do, you will want to make sure that you have more than one channel in between your transmitters to reduce interference. This can be a real risk if you have a fly-off.
You will need a receiver in addition to the telemetry devices themselves. Some people do not purchase a receiver right away due to expense, instead relying on a friend or sponsor. As a trainer who relies on quick action when something in the field goes sideways, this would not be my recommendation of choice. Keeping eyes on a bird when there is a flyoff situation or on their last known location is one of the best ways of getting your bird back. Having to track down a receiver could be the difference between getting your bird back and coming home empty handed.
Various radio telemetry devices have different battery lifespans, but overall they can stretch for several days with a fresh battery.
GPS telemetry for birds is quite different. While there are a couple different options on the market, the one I am familiar with the most is the Marshall brand. Unlike radio telemetry, GPS gives you almost precise location data. It requires a Pocket Link receiver that connects via Bluetooth to an app on your phone. The battery life is much different than radio telemetry, and does not last as long. However, if your bird stays out overnight, you have the option of “sleeping” the battery.
The trick is to stay with the bird until last light when the bird puts up to roost and coming back at first light to unsleep the GPS unit so that you start tracking before the bird starts moving. If you do not get to your bird in time to take the device of sleep, it will not link back up to your Pocket Link and you are no longer able to track your little miscreant.
Another component of GPS tracking is that it requires cell service to work. In our hilly terrain, the tracking has blinked out at times when the bird has gone over too many hills and into a non-cell area. This is why having two telemetry devices is really helpful. When you don’t, you can move up to the last known location and see if you can connect back with your bird’s transmitter.
Mounting Styles
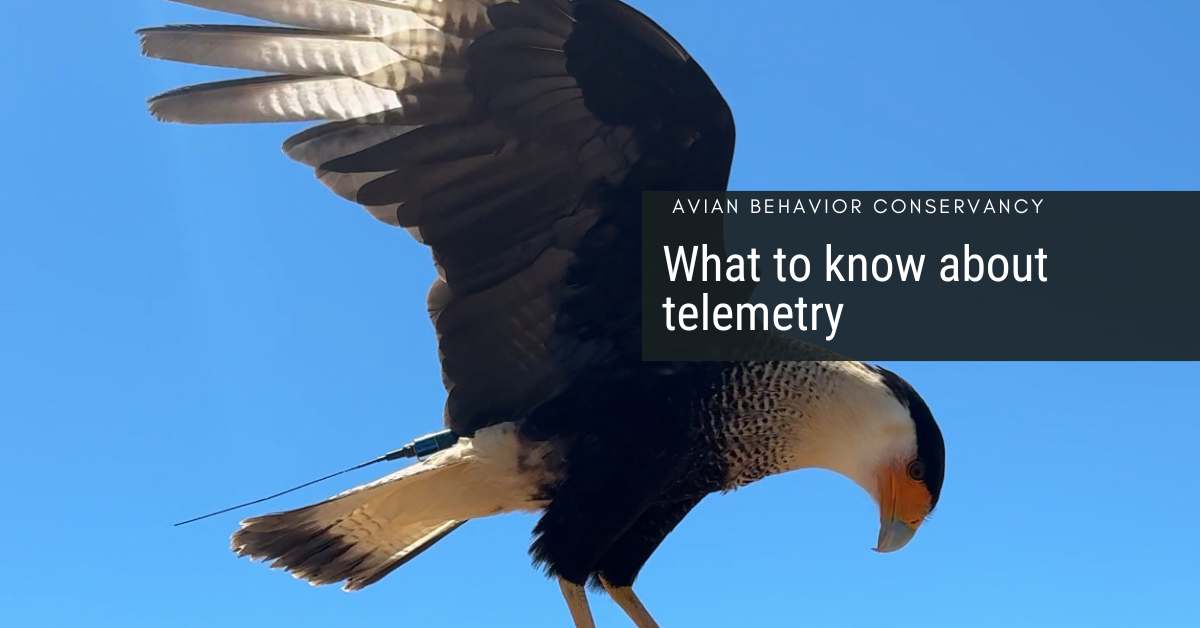
There are also different ways of mounting telemetry, no matter if you are using GPS or radio There is the leg, tail, or backpack mount. There is also the lesser used neck mount for some small birds. The tail mount uses a little metal slot that is crimped on to a tail feather that has to be replaced once the feather is molted out. The backpack is a plastic slot held in place by smooth teflon ribbons that wrap around the thorax. The leg mount is the only device that doesn’t have prongs, but is attached to an anklet or bewit on the bird’s leg.
Falconers and trainers tend to argue back and forth over the pluses and minuses of each mounting style. They are all right. There is no perfect way to mount telemetry that your bird will be 100% safe. Some ways will arc to utility wires more easily if the bird sits on them. Some will get pulled off when your bird crashes the brush. Some could cause snagging or tangling. All of these are legitimate concerns. Most if not all change the way a bird flies to a certain degree. That said, they get used to it, and adjust. But there is no way to accident-proof your telemetry. The best way to mount your telemetry is the way that suits your bird and your style with the least friction.
For instance, I tend to avoid leg mounts. Our birds almost always mess with the antenna, making the device useless. During molting season, we have to constantly replace the antennae. We do use a lot of tail mounts, but because they molt these out, we either have to go to leg mounts (see above) or chase tail feathers, putting the tail clip on different feathers before they molt out. This is what has worked well for us, but others have had varying experiences. You can try different types of telemetry to see what works best.
When to use telemetry
So when exactly do you use telemetry? For us, the answer is simple: pretty much every time we fly our birds. If we have the equipment, why not? The only birds that we do not use telemetry on are our parrots. The reason is that we have so many strong reinforcers for them, between social, environment, program-based, food, and safety, that the risk of loss is minimal at this point (note: it is never zero). The way we fly our birds – in their home environment and not traveling to different locations each time – also brings safety and more confidence in having a better understanding of proximal risk factors.
We use telemetry for the length of the bird’s flighted career, no matter how accomplished a flyer they are. In some cases, this is necessary and highly regulated. Many states have regulations when it comes to flying non-native birds that require not one but two telemetry devices. Even when this is not the case, this makes for a good practice, and we will double up a GPS and a radio telemetry device so that when one fails, the other can take over.
In some states, it’s not necessary to use telemetry for native raptor species. This is not a practice that we take advantage of, as telemetry is such a valuable tool and so easy to use. Even species that generally stay close, such as kestrels, benefit from telemetry. You never know when your bird will take a long slip or work to avoid a flighted predator where telemetry can make the difference in whether or not you come home with your bird safely that day.
The purpose of telemetry
At the end of the day, telemetry has really changed the game when it comes to falconry and flying ambassador birds. It means that they can fly bigger flights and trainers and falconers can have more confidence if their birds are out of sight. With that said, however, telemetry tells you where the transmitter is. It does not keep your bird safe from predators, bad weather, or other risks. All too often, we have seen it take the place of thorough, foundational training. This leads to bigger fly-offs because a bird does not have the skills to handle the job being asked. Knowing your bird and your environment still takes precedent when starting your bird’s training program.
Want to learn more about our flight training protocols? Check out our Best Practice Guidelines for fly off protocols and learn how to train your team to handle this dynamic and stressful situation.